
Install Google Analytics with Google Tag Manager
In this blog, I'll guide you through the process of adding Google Analytics to your Google Tag Manager account—in less than 30 minutes. Let's dive in!
If you prefer a video tutorial, you can watch my 5 minute Google Tag Manager tutorial video at the bottom of this blog post. The video shows how to add Google Analytics on a Squarespace website, but the tips will work on all CMSs.

Tired of struggling with your Google Analytics setup?
Let me handle it for you! My Google Analytics integration service is usually completed in less than a week, giving you the valuable insights you need to grow your revenue fast.
Let me do the heavy lifting, so you can focus on your business. Book a 30 minute call with me today!
Step 1: Add a New Google Analytics Tag to Your GTM Container

The first step is to add a new Google Analytics tag to your Google Tag Manager workspace. Click on choose a tag type and choose the "Google Analytics Universal Analytics" tag.
Click into the tag configuration section and keep the track type set to "Page View" as we want to track page views in this instance.
Don’t have Google Tag Manager on your website? Read this guide on how to add GTM to your website.
How to Create a Google Analytics Settings Variable

To create a new Google Analytics settings variable, click on new variable. Then select Google Analytics Settings as the variable type.
The value of this variable is your GA tracking ID, which you can find in your Google Analytics account. Copy the tracking ID from your GA account, paste it into the variable.

Now we'll need to name our variable (I just name mine the tracking ID), and click save.
Name and Save Your Google Analytics Tag

Now we'll need to name our tag—I prefer a {{Tool Abbreviation}} - {{Tag Type}} - {{Trigger}} naming convention— so I named mine GA - PV - All Pages. Now click save.
Step 2: Add a Trigger to the Google Analytics Tag
Add a trigger to your tag. In this case, choose "All Pages" to ensure that Google Analytics fires every time a user visits any page on your site.

Step 3: How to Check if Google Analytics Is Working
Now that you have successfully created the Google Analytics tag and Google Analytics settings variable, you may be asking yourself: “how do i know if my Google Analytics tag is working?”. Fortunately, Google Tag Manager makes it easy to validate our tags are working correctly
To validate your implementation, go into preview mode in Google Tag Manager, enabling it as a native debugger. Refresh your website to ensure the Google Analytics tag is firing as expected. You can watch my 5 minute Google Tag Manager tutorial video below to see how I debug my tags in GTM.
To double check that my tag is actually sending data to GA, I'm going to go into my Google Analytics account and look at the real-time data. I'm expecting to see one user on the home page and I'm hoping this will say Dallas which is my location.

As you can see in my screenshot, everything's working as expected 🥳.
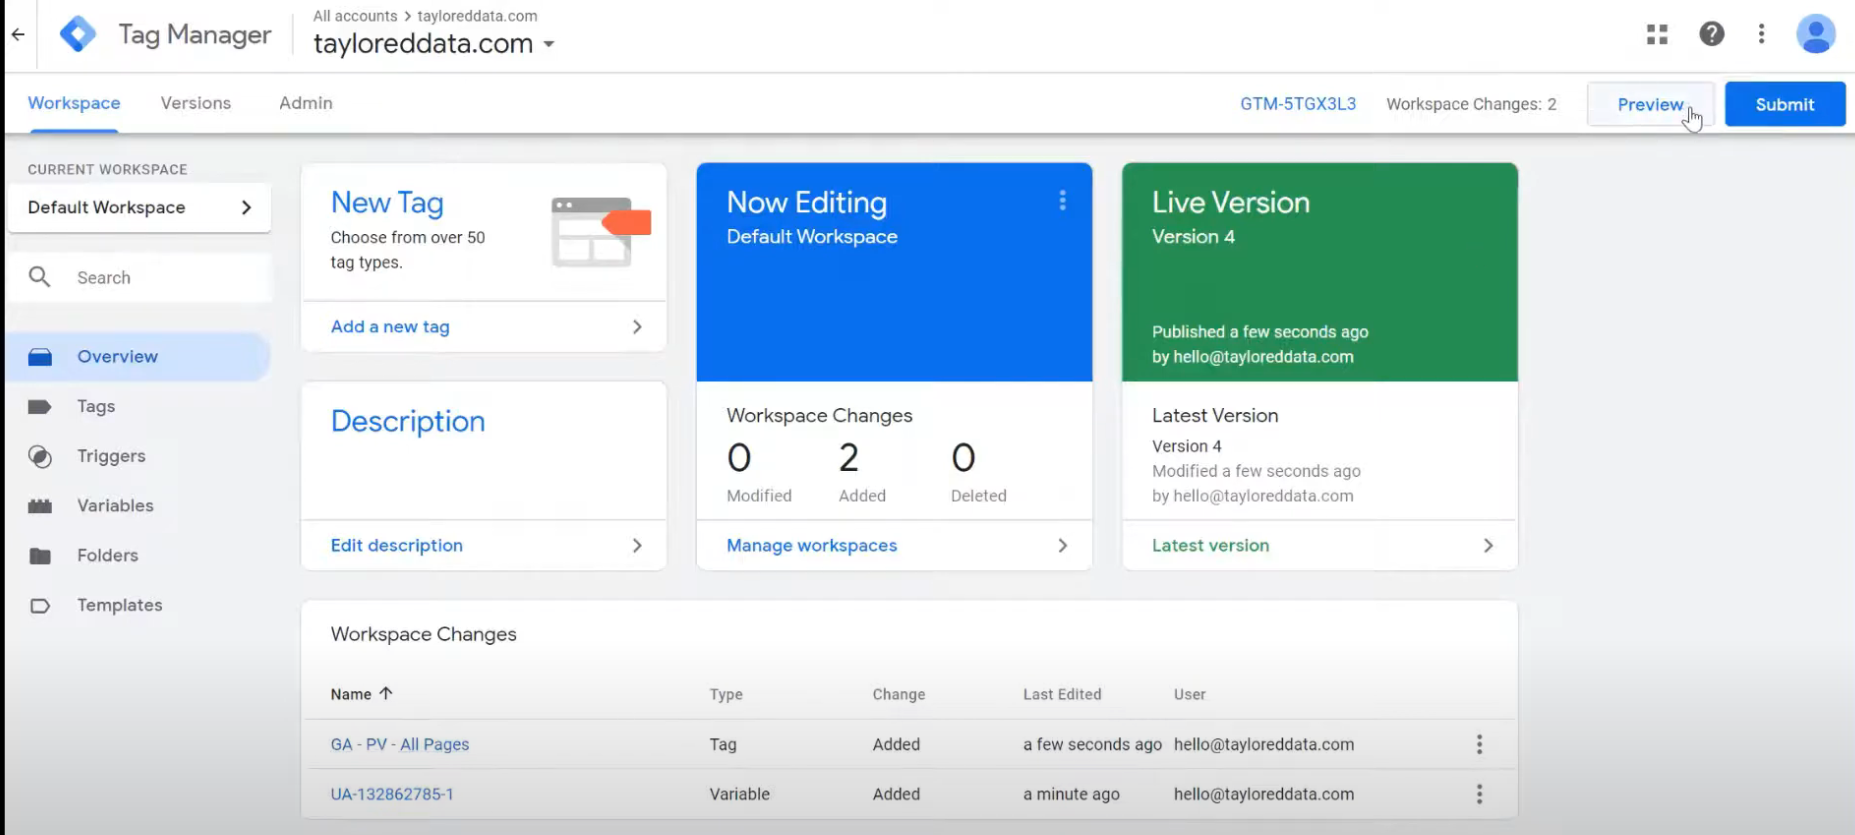
Step 4: Publish Your Google Analytics tag
Before publishing, write a detailed version name and description. I also recommend including initials in the description to help your team members or future you easily identify who made what changes.

Click publish to make the tag live on your website.
Congratulations! You've successfully integrated Google Analytics with Google Tag Manager.
Until next time!
Simplify your analytics setup with expert guidance! Book a discovery call with me today.
-
Absolutely! Most of my clients are able to receive data-driven insights 2 months faster when they hire me to set up their Google Analytics integrations. Schedule a quick 30 minutes call with me to get started!
In addition to integrating your Google Analytics account with Squarespace, you'll also get:
an ecommerce dashboard with all of the metrics you need to improve your ecommerce conversion rate.
a video walking you through how to use this data to increase revenue.
a wrap up call with me to recap the project and answer any of your questions.
-
Description text goes hereWhile GA4 offers a robust interface for data analysis, you might find it easier and more time-saving to use a pre-built ecommerce dashboard like my Squarespace + Google Analytics Ecommerce Dashboard.
My dashboards provides a clear and intuitive overview of your key ecommerce metrics, eliminating the need for complex data exploration in the Google Analytics platform.
Benefits of using my Google Analytics Ecommerce Dashboard:
Instant access to the Squarespace ecommerce dashboard.
Comprehensive data visualizations showing essential metrics like product-specific conversion rate, checkout conversion rate, average order value, purchase funnel drop offs, and customer lifetime value (CLTV).
Reveal the landing pages that captivate your customers and drive revenue.
Marketing channel comparison of your top traffic sources, including organic search, paid search, social media, and more.
Save time by focusing on key metrics chosen by me, a Google Analytics expert with 10+ years of experience.
Actionable insights to improve your Squarespace purchase flow and marketing spend.
User-friendly interface: Navigate and customize the dashboard with ease.
A comprehensive video tutorial on how to use and edit the dashboard, and tips for how to use the data to improve your ecommerce conversion rate.
Ready to increase your ecommerce revenue and minimize purchase friction on your ecommerce site?
Then purchase my dashboard to get revenue generating insights from Google Analytics.
-
Check out my How to Add Google Tag Manager and Google Analytics to your Squarespace website guides to learn how to set this up.
Or if you'd like insights faster, I can set up Google Analytics on your Squarespace website in less than a week! Learn more about my Squarespace and Google Analytics integration service.
-
To verify Google Analytics implementation, check for the tracking code snippet in your website's header. You can also use the Google Analytics Real-time Reports to see if there is activity on your site.
Or if you'd like to get your Google Analytics data without all of the trial and error, work with me to get it done in less than a week!
GTM is the easiest way to install GA without the help of a developer. Watch this video to learn how to add Google Analytics to your Google Tag Manager account in under 5 minutes!