
How to Track Form Submissions Without a Thank You Page
In the context of digital analytics, we typically want to trigger a successful form submission when someone lands on a thank you page to ensure client and server-side validation has completed—but what happens when there isn’t a thank you page or even a thank you message?
In this blog post, I'll guide you through the process of using the MutationObserver web API to observe changes to a webpage that signal a successful form submission. While my code examples specifically use these changes as a trigger to push events to the data layer, you can adapt the observer to initiate any action you need once a DOM modification occurs.
I’m including more JS information in this post than I typically do to help you understand what the API can do so you can customize my example code to fit your needs.
Blog Overview
Click the links below to skip ahead to these sections.
Why Some Forms Don’t Redirect to a Thank You Page
A common reason why a form submission doesn’t redirect to a thank you page is because it’s using AJAX to handle the form submission logic.
💡What is AJAX (Asynchronous JavaScript and XML)?
AJAX is a web development technique that allows the browser to send and receive data from the server asynchronously without forcing the page to reload. AJAX form submission makes the submission an async post request and allows for client-side validation handling.
AJAX form submission makes the submission an async post request and allows for client-side validation handling.
In the context of a form submission, no page reload often means no thank you page and instead the web developer may choose to show a thank you message on the page instead.
Why Can’t I Just Use the “submit” Event Listener for Form Tracking?
Event Listeners are my preferred method for tracking user interactions, but for the submit event specifically I don’t prefer to use it. Why? Because the submit event only confirms that the website tried to send the form to the server, but it doesn’t mean the server responded with a successful form submission.
For example, have you ever tried to purchase a movie theater seat only to be notified after you tried to checkout, that someone ahead of you purchased that seat first? The form submission works similarly. The user hits submit and if there were no client-side validation errors, then the website fires the submit event and sends the data to the server. Once the server receives the request, it does its own validation and only then does it become a successful form submission.
That’s why the thank you page is the gold standard for tracking a successful form submission—because the user only sees the thank you page after the server validation.
Fortunately, we can use the MutationObserver API to observe DOM changes that occur after server-side validation and create logic to process these changes.
💡What is the DOM?
The DOM (document object model) is the representation of all HTML elements on a page. When the browser loads, it first loads and reads the HTML and then builds the DOM. Every element in the DOM becomes an object that JS can interact with. While changes are happening in the browser’s live rendering of the page, the HTML remains unchanged.
HTML is the static content the server loads to the browser. If you’ve ever right-clicked on a page to “view page source” this is the static version of the page.
With JavaScript the HTML elements of a page can change and these changes are represented in the DOM. If you’ve ever used the browser debugging tool, the DOM is the Elements tab. Examples of DOM changes include:
dynamically adding new text to a page when a button is clicked
removing elements like closing a modal or removing a product from the cart
changing attributes of an element like adding a cart-added class (I’ll talk more about this one in a bit)
What is the MutationObserver?
Now that we’ve gotten all of the background context out of the way, let’s talk about the star of this blog post—the mutation observer.
The MutationObserver API is a native web API that was designed to identify changes to the DOM and report those changes in a performant and efficient way by batching the observations in a single report (callback). The observer will constantly monitor the DOM for changes and then notify you (via the callback function) when an element you’re observing changes. As part of setting up the observer, you need to tell it what DOM element to observe and what to do once it observes a change.
How to Set Up the MutationObserver
Setting Up the Mutation Observer
In its simplest form, this is how you’d construct the observer:
var mutationObserver = new MutationObserver(entries=> { console.log(entries)})

var targetElement = document.querySelector('form');

mutationObserver.observe(targetElement, { childList: true, subtree: true, attributes: true, attributeOldValue: true });
Below is an example of the MutationObserver syntax from MDN:
// Select the node that will be observed for mutations
const targetNode = document.getElementById("some-id");

// Options for the observer (which mutations to observe)
const config = { attributes: true, childList: true, subtree: true };

// Callback function to execute when mutations are observed
const callback = (mutationList, observer) => {
  for (const mutation of mutationList) {
    if (mutation.type === "childList") {
      console.log("A child node has been added or removed.");
    } else if (mutation.type === "attributes") {
      console.log(`The ${mutation.attributeName} attribute was modified.`);
    }
  }
};

// Create an observer instance linked to the callback function
const observer = new MutationObserver(callback);

// Start observing the target node for configured mutations
observer.observe(targetNode, config);

// Later, you can stop observing
observer.disconnect();
Use Case: How to Track Squarespace Product Form Submissions
Now that you’ve seen some basic examples of the observer code, let’s expand to a more complex one. The example below pushes an add to cart data layer event when someone adds one of my digital products to their cart (after completing a form) so I can send that data to Google Analytics.
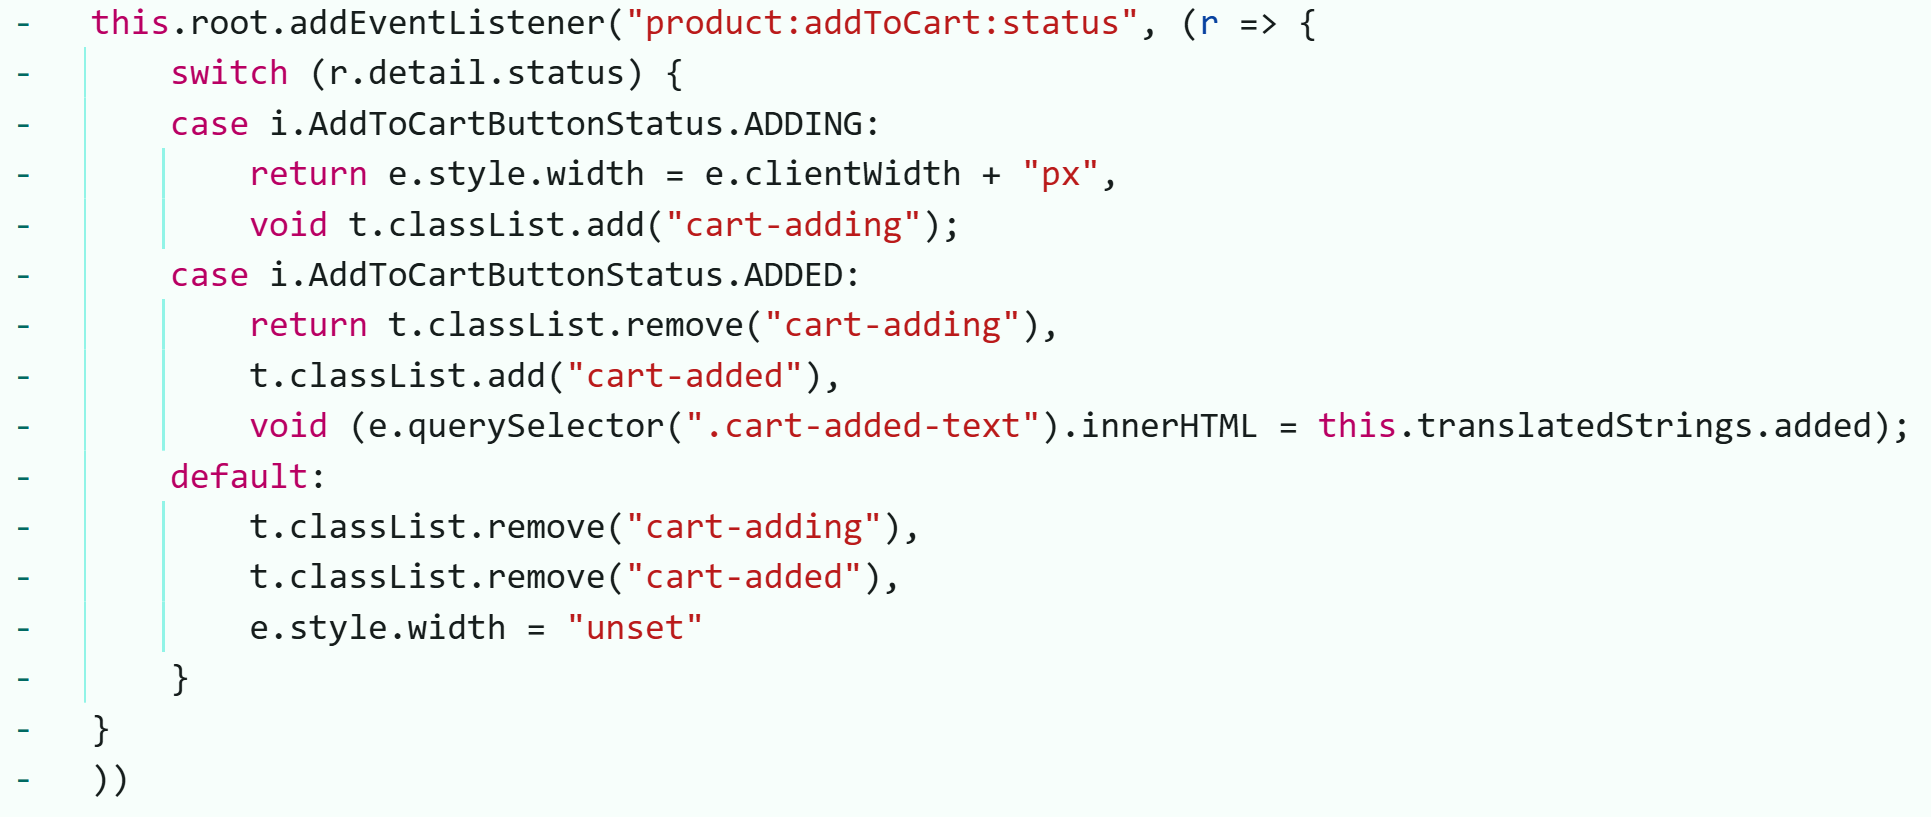
Squarespace has a product form feature that I use to to get a user’s email to send them a purchased digital product—unfortunately, Squarespace doesn’t give us the option to redirect a user to a thank you page after completing the form. But, I noticed that the button text changes from the product name to “added” after the form is completed:

And I found some Squarespace source code that seems to indicate that the text change only happens after the product is added to someone’s cart:
I added descriptive comments within the code, but I’ll break down what each section means in further detail below this code block.
// --- Select the DOM element that you want to oberve for changes ---
var targetButtons = document.querySelectorAll('.sqs-add-to-cart-button');

// --- Select which mutations to observe ---
var observerConfig = {
    childList: true,     // Observe direct children being added/removed from the target element
    subtree: true,       // Observe changes in all of the target element's descendants (children, grandchildren, etc.)
    characterData: true, // Observe changes to text content of text nodes
    attributes: true    // Observe changes of any attributes to the target element
    attributeFilter: ['class'], // Only observe changes to the specified attribute(s)
    attributeOldValue: true,  // Get the previous value of the attribute
};

// --- Define the MutationObserver callback function to execute when mutations are observed ---
var observeButtonCallback = function (mutationsList, observer) {

    for (var i = 0; i < mutationsList.length; i++) {
        var mutation = mutationsList[i];

        // Check if the mutation is an attribute change on the 'class' attribute
        if (mutation.type === 'attributes' && mutation.attributeName === 'class') {
            var currentObservedButton = mutation.target;
            var oldClassValue = mutation.oldValue || '';

            // Check if 'cart-added' class is NOW present AND was NOT present before
            if (currentObservedButton.classList.contains('cart-added') && oldClassValue.indexOf('cart-added') === -1) {

                // --- Flag Logic to see if attribute was newly changed ---
                if (!observer.hasFiredAddToCart) {
                    observer.hasFiredAddToCart = true; // Set flag to true immediately

                    // --- Data Layer push will only occur if the attribute was newly changed---
                    window.dataLayer = window.dataLayer || [];
                    window.dataLayer.push({
                        event: 'add_to_cart',
                        ecommerce: {
                            items: [{
                                item_id: 'SKU123', // Replace with dynamic data if available
                                item_name: 'Product Name',
                                price: 100.00,
                                quantity: 1
                            }]
                        }
                    });

                    // --- Disconnect Observer ---
                    observer.disconnect(); // Stop observing after successful data layer push

                    // --- Break Loop ---
                    break; // Exit the loop as we found our target mutation and processed the data
                }
            }
        }
    }
};

// Create the MutationObserver instance
var observer = new MutationObserver(observeButtonCallback);

// --- Optional Custom Properties ---
// Attach custom properties to the observer instance for state management
observer.hasFiredAddToCart = false; // Our flag that the attribute has already been changed
observer.targetElement = targetButton; // Reference to the observed element (useful for debugging)

// Start observing the target element with the defined configuration
observer.observe(targetButton, observerConfig);
Explaining the MutationObserver Setup
1) Create a new MutationObserver class
First, we need to create a new MutationObserver by creating a new class. The MutationObserver constructor takes one argument: the callback function that will be called each time the MutationObserver observes a DOM change (we’ll define what DOM elements we want to watch in a bit). I’m also going to define some custom properties I’d like to add to the observer object so that I can use those within my callback logic.
// Create the MutationObserver instance
var observer = new MutationObserver(observeButtonCallback);

// --- Optional Custom Properties ---
// Attach custom properties to the observer instance for state management
observer.hasFiredAddToCart = false; // Our flag that the attribute has already been changed
observer.targetElement = targetButton; // Reference to the observed element (useful for debugging)
2) Create the Observer function
Next, we need to write the observer function which takes two arguments: the DOM node we want to observe and what we want to observe.
It’s the creation of an instance of the observer object (var observer = new MutationObserver(callback)) AND the creation of the observer function that lets the browser know that I’m using the MutationObserver API to actively monitor the DOM.
In other words, the new MutationObserver() tells JavaScript I’m instantiating the API, and the observer.observe() call is what starts the actual observation process in the browser. Without observe(), the MutationObserver instance does nothing.
    // Start observing the target element with the defined configuration
    observer.observe(targetButton, observerConfig);
3) Define the DOM element we want to observe and what changes we want to observe
Now that we’ve set up the observer function and created a new class, it’s time to define what DOM element we want to observe. To keep the observer performant, make your target node as narrow and specific as possible. For example, you wouldn’t want to observe the entire body for DOM mutations because it would slow down the entire page.
We also need to specify what changes we want the observer to watch by creating a config object.
// --- Select the DOM element that you want to oberve for changes ---
var targetButtons = document.querySelectorAll('.sqs-add-to-cart-button');

// --- Select which mutations to observe ---
var observerConfig = {
    childList: true,     // Observe direct children being added/removed from the target element
    subtree: true,       // Observe changes in all of the target element's descendants (children, grandchildren, etc.)
    characterData: true, // Observe changes to text content of text nodes
    attributes: true    // Observe changes of any attributes to the target element
    attributeFilter: ['class'], // Only observe changes to the specified attribute(s)
    attributeOldValue: true,  // Get the previous value of the attribute
};
I’ve defined each configuration option in the above code block, so to summarize: childList, attributes, and characterData are types of observers. The subtree parameter acts as an enhancement to the observer’s default behavior to observe the target element and its direct children and all of its descendants. So if your anticipated changes is deeply nested, you’ll want to use subtree to ensure the observer catches it.
You need to have at least one of the observers set to true for the MutationObserver to run.
4) Create the MutationObserver callback function
Next, we get to the true power of the MutationObserver—its callback function. The callback is what actually process the mutations list and where we’d put in our data layer logic. It’s in the callback where the observer reports its findings about the changes it observed.
If you’re new to JavaScript, a function is essentially telling the browser, “here’s a set of instructions, and I’m calling it observeButtonCallback”.
// --- Callback function to execute when mutations are observed ---
// Define the MutationObserver callback function
var observeButtonCallback = function (mutationsList, observer) {

    for (var i = 0; i < mutationsList.length; i++) {
        var mutation = mutationsList[i];

        // Check if the mutation is an attribute change on the 'class' attribute
        if (mutation.type === 'attributes' && mutation.attributeName === 'class') {
            var currentObservedButton = mutation.target;
            var oldClassValue = mutation.oldValue || '';

            // Check if 'cart-added' class is NOW present AND was NOT present before
            if (currentObservedButton.classList.contains('cart-added') && oldClassValue.indexOf('cart-added') === -1) {

                // --- Bouncer Flag Logic ---
                if (!observer.hasFiredAddToCart) {
                    observer.hasFiredAddToCart = true; // Set flag to true immediately

                    // --- DataLayer Push ---
                    window.dataLayer = window.dataLayer || [];
                    window.dataLayer.push({
                        event: 'add_to_cart',
                        ecommerce: {
                            items: [{
                                item_id: 'SKU123', // Replace with dynamic data if available
                                item_name: 'Premium Tracksuit',
                                price: 175.00,
                                quantity: 1
                            }]
                        }
                    });

                    // --- Disconnect Observer ---
                    observer.disconnect(); // Stop observing after successful push

                    // --- Break Loop ---
                    break; // Exit the loop as we found our target mutation and acted
                }
            }
        }
    }
};
When a change is observed that matches the parameters set in the config variable, the MutatationObserver calls the callback function and passes it two arguments: the mutationsList and the observer. The mutationsList is an array (or list) of Mutation Record objects. Each Mutation Record object is a detailed report of a single detected DOM mutation. The observer argument is a reference to the MutationObserver itself that triggered the callback to execute. The observer is passed as an argument to give us control over the specific config options and access the custom properties we created specifically for that observer.
Because I have multiple instances of the same DOM element on my page, I am using a for loop to iterate through each DOM element.
The browser provides all of the relevant mutation records in the mutations list array to the callback, but its up to the developer to process each one. I’m using a for loop to process the array in my code.
My for loop checks that the right mutation type was observed, then creates new variables including one to check the previous value of the attribute to ensure the attribute change just happened. I’m checking the attributeOldValue to ensure this is a new change before pushing to the data layer to prevent duplicate pushes—I only want the data layer push to happen the first time the attribution mutation is observed.
The observer.disconnect() and break keyword are similar in that they're both stopping execution. The disconnect stops the observer from observing additional changes while the break stops the for loop once we find the mutation we wanted and the information is pushed to the data layer.
How to use the MutationObserver to send data to your martech/ digital analytics platform
Once you’ve set up the callback logic to push an event to the data layer, you can use your tag management tool of choice (Google Tag Manager, Adobe Launch, Tealium, Piwik PRO, etc.) to send this data to your analytics and marketing tools. Within your TMS, you would simply add the data layer event name as a custom trigger and pass the data to Google Analytics/Adobe Experience Platform/Piwik PRO/Clarity like any other trigger.
You can check out these blog posts for examples of how to send data layer events to Google Analytics using Google Tag Manager:
There will be slight differences if you’re using another TMS, but these guides should still be helpful.
Summary: Tracking Form Submissions with MutationObserver
If you’ve made it this far, you have hopefully been able to:
Understand why your form doesn’t have a thank you page or message.
Learn how to use the MutationObserver API to observe changes to the DOM.
Implement Google Analytics form submission analytics tracking through Google Tag Manager to see your form conversions in GA4 and other martech tools.
Using the tips from this tutorial, you can now track critical conversion points on your website, ensuring you capture your business's KPIs accurately in Google Analytics 4 and all of your digital marketing and analytics tools.
Feeling Overwhelmed by Custom Tracking?
This post highlights just one advanced technique. If you're ready to unlock truly accurate data without the headaches of custom code, let me handle it.
Google Analytics Solutions for Small Businesses


GTM is the easiest way to install Google Analytics without the help of a developer. Watch this video to learn how to add Google Analytics to your Google Tag Manager account in under 5 minutes!